
Moving to WordPress is defined as the process of transferring your site’s content, database, media files, and URL structure from one platform to a self-hosted WordPress installation. For small business owners, this move delivers real gains: better SEO control, a wider plugin ecosystem, and full ownership of your site. A business site migration typically takes 2–6 weeks from start to finish when SEO preservation and testing are done correctly. Skipping steps in that window is where most businesses lose search rankings permanently.
What tools do you need to migrate website to WordPress?
The right tools determine whether your migration runs smoothly or turns into a weeks-long repair job. Before you transfer a single file, you need four categories of resources in place.
Hosting and WordPress core: You need a web host that supports WordPress.org installations. Managed WordPress hosts handle server configuration automatically, which saves time for non-technical business owners. Once hosting is live, install WordPress.org (the self-hosted version, not WordPress.com) through your host’s control panel.

Migration plugins: These handle the heavy lifting of content transfer. All-in-One WP Migration exports your entire site as a single package and reimports it on the new host. The Redirection plugin, which has over 2 million installs, manages 301 redirects after your URLs change. RankMath or Yoast SEO handles on-page SEO settings and sitemap generation.
Design tools: Design never transfers automatically from your old platform. You will need a WordPress theme and, optionally, a page builder like Elementor or Beaver Builder to recreate your visual layout. Think of it as repainting a house after moving the furniture in.
Technical tools for manual transfers: SFTP clients like FileZilla move files between servers. phpMyAdmin gives you direct access to your WordPress database. An SEO audit tool, such as Screaming Frog, crawls your old site to document every URL before migration begins.
| Tool category | Example tools | Primary role |
|---|---|---|
| Hosting | Managed WordPress hosts | Server environment for WordPress.org |
| Migration plugins | All-in-One WP Migration | Content and database transfer |
| Redirect management | Redirection plugin, RankMath | 301 redirect setup and SEO preservation |
| Design rebuilding | Elementor, Beaver Builder | Visual layout recreation |
| Manual transfer | FileZilla, phpMyAdmin | File and database access |
| SEO auditing | Screaming Frog | URL mapping and pre-migration crawl |
How do you choose the best migration method?
Three migration methods exist, and the right one depends on your site’s size, complexity, and your comfort with technical tasks.
-
Automated plugin migration suits small to medium sites with standard content types. Tools like All-in-One WP Migration complete the transfer in 1–3 hours for most standard sites. This method requires minimal technical knowledge and works well for service business websites with pages, blog posts, and images.
-
Manual migration via SFTP and phpMyAdmin gives you full control over every file and database table. The tradeoff is time: manual transfers take 1–3 days for large or custom sites. This method suits business owners who have some technical experience or are working with a developer, and it is the preferred route when your site has custom post types or non-standard database structures.
-
Professional migration services are the right call for e-commerce stores, multilingual sites, or any site with complex data structures. Professional teams spend most of their time on discovery and validation rather than file transfer, ensuring custom metadata and post types map correctly. The total timeline runs up to two weeks. Complex migrations involving custom fields or multilingual setups can extend to 8 weeks in some cases.
Factors that push you toward professional services:
- WooCommerce or other e-commerce functionality
- Multilingual content with separate URL structures
- Custom post types or advanced custom fields
- More than 500 pages of content
- Active membership or subscription systems
Pro Tip: Set up a staging environment before you touch your live site. A staging site is a private copy of your new WordPress installation where you test the migration without affecting real visitors or search rankings.
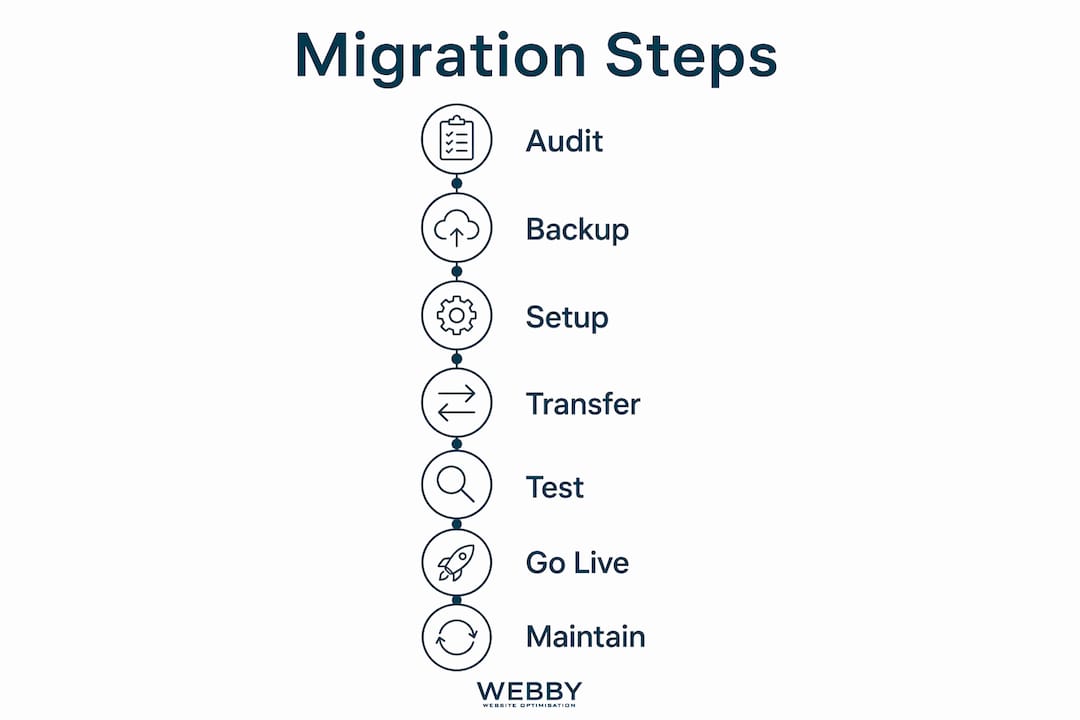
What are the step-by-step instructions to move to WordPress?
A structured process prevents the most common migration failures. Follow these steps in order.
-
Run a pre-migration SEO audit. Crawl your existing site with Screaming Frog or a similar tool. Document every URL, title tag, meta description, and schema markup. A pre-migration audit is the single most effective step for preventing organic traffic drops after launch.
-
Set up WordPress hosting and install WordPress.org. Choose your host, point your domain’s DNS to the new server, and complete the WordPress installation. Do not make this your live domain yet.
-
Back up your existing site. Download a full backup of your current site’s files and database. Store copies in at least two locations, such as a local drive and cloud storage.
-
Transfer content using your chosen method. Run your migration plugin, execute the manual SFTP transfer, or hand off to your professional service team. Verify that all posts, pages, images, and user data arrived intact.
-
Rebuild your site design. Design does not transfer automatically from proprietary platforms. Install your chosen WordPress theme and use a page builder to recreate your visual layout, navigation menus, and footer.
-
Set WordPress to discourage search engine indexing. Under Settings > Reading in WordPress, check the box that discourages search engines from indexing your site. This prevents duplicate content penalties while you are still testing.
-
Set up 301 redirects for every changed URL. Use the Redirection plugin or RankMath to map old URLs to new ones. Every changed URL without a redirect is a lost ranking signal. The URL structure guide from Webby Website Optimisation covers this in detail.
-
Test thoroughly on the staging site. Check all internal links, contact forms, checkout flows, and page load speeds. Fix every broken element before going live.
-
Remove the indexing block and submit your sitemap. Once testing is complete, uncheck the indexing block. Submit your XML sitemap to Google Search Console and Bing Webmaster Tools.
-
Monitor rankings and traffic for 30 days post-launch. Watch for ranking drops, crawl errors, and broken links in Google Search Console.
| Step | Action | Typical duration |
|---|---|---|
| Pre-migration audit | Crawl and document all URLs | 1–2 days |
| Hosting and WordPress setup | Install WordPress.org | Half a day |
| Full site backup | Download files and database | 1–3 hours |
| Content transfer | Plugin, manual, or professional | 1 hour to 3 days |
| Design rebuild | Theme and page builder | 2–5 days |
| Redirect setup | Map all changed URLs | 1–2 days |
| Staging testing | Test all functions | 2–3 days |
| Launch and monitoring | Go live, submit sitemap | Ongoing for 30 days |
What common mistakes can break your WordPress migration?
Most migration failures trace back to a short list of skipped steps. Knowing them in advance saves you weeks of recovery work.
- Skipping URL mapping. Every URL that changes without a 301 redirect loses its accumulated SEO authority. URL mapping and 301 redirects are not optional. They are the difference between keeping your Google rankings and starting from zero.
- Assuming design transfers automatically. It does not. Proprietary design data from platforms like Wix or Squarespace cannot be exported to WordPress. Budget time for a full design rebuild.
- Launching without staging site testing. Going live before testing on a staging environment exposes real visitors to broken pages, missing images, and failed forms.
- Forgetting to disable search engine indexing during staging. If Google crawls your staging site, it may index duplicate content and penalize your rankings before you even launch.
- Underestimating the timeline. Business owners routinely plan for a weekend migration and end up with a three-week project. Complex sites genuinely require more time, and rushing creates errors that cost more to fix than the time saved.
Pro Tip: Run a full DIY SEO audit both before and after migration. Comparing the two reports shows exactly which pages lost rankings or broke, so you can fix issues before they compound.
How do you maintain and grow your WordPress site after migration?
Getting your site live on WordPress is the starting point, not the finish line. Post-migration maintenance determines whether your new site performs better than the old one.
- Keep WordPress, themes, and plugins updated. Outdated software is the leading cause of WordPress security breaches and performance problems. Schedule monthly updates as a fixed task.
- Monitor and improve page speed. WordPress gives you direct control over performance. Caching plugins, image compression, and a content delivery network all reduce load times. Faster pages rank higher and convert better. The WordPress speed guide from Webby Website Optimisation covers the most effective techniques.
- Fix broken links regularly. Use a plugin like Broken Link Checker to scan your site monthly. Broken internal links damage both user experience and search rankings.
- Update and expand your content. WordPress makes content publishing straightforward. Add new service pages, update old blog posts with current information, and build internal links between related pages. Fresh content signals to Google that your site is active.
- Track rankings in Google Search Console. Watch your keyword positions weekly for the first three months after migration. A sudden drop in a specific page’s ranking usually points to a missing redirect or a lost meta tag.
Regular website maintenance is what separates businesses that grow their organic traffic after migration from those that plateau.
Key takeaways
A successful website transfer to WordPress requires a pre-migration audit, the right method for your site’s complexity, and 301 redirects for every changed URL.
| Point | Details |
|---|---|
| Plan for 2–6 weeks | Business site migrations require this window to complete SEO preservation and testing properly. |
| Match method to complexity | Use plugins for small sites, manual transfer for custom builds, and professional services for e-commerce. |
| Redirects protect rankings | Every changed URL needs a 301 redirect or you lose accumulated search authority permanently. |
| Design must be rebuilt | No platform exports design to WordPress; budget time for theme setup and page builder work. |
| Post-launch monitoring matters | Track rankings and fix broken links for at least 30 days after going live. |
Why I think most small businesses rush the part that matters most
After watching dozens of site migrations, the pattern is consistent. Business owners invest real effort in choosing a theme and picking a host, then rush through URL mapping and redirect setup because it feels like administrative work. That is exactly backwards.
The design rebuild is visible and satisfying. The redirect work is invisible and critical. A missed redirect on a high-traffic service page can wipe out months of SEO progress in 48 hours. I have seen local service businesses lose their top Google positions for competitive keywords simply because five URLs changed without redirects.
The staged approach is the one I recommend without exception. Build on staging, test everything, then flip the switch. The businesses that treat migration as a phased project rather than a weekend task consistently come out ahead. They also spend less time fixing post-launch problems, which frees them to focus on the real benefit: using WordPress’s ecosystem to grow their online presence after the move.
The benefits of WordPress for businesses are genuine and well-documented. But you only access those benefits if the migration itself is done right. Patience in the preparation phase is not caution. It is the most direct path to a site that performs better on day one than the old one did after years.
— Steve Doig
Webby Website Optimisation: WordPress migration support for local businesses
Small business owners in Perth, Fremantle, and Melville have a practical option for getting this right the first time. Webby Website Optimisation handles WordPress migrations with a focus on SEO preservation, design rebuilding, and post-launch performance.
The team at Webby Website Optimisation works specifically with local service businesses, which means the migration process is built around protecting your Google rankings and converting visitors into leads. From pre-migration audits to redirect setup and speed optimization, every step is covered. Visit Webby Website Optimisation to learn about migration services and request a free consultation tailored to your site’s current setup.
FAQ
How long does it take to migrate a website to WordPress?
A business site migration typically takes 2–6 weeks when SEO testing and redirect setup are included. Simple sites using automated plugins can transfer in 1–3 hours, but validation and testing add significant time.
Will migrating to WordPress hurt my Google rankings?
Rankings can drop temporarily if 301 redirects are not set up for every changed URL. A pre-migration audit and proper redirect mapping prevent most ranking losses.
Do I need a developer to move to WordPress?
Small sites with standard content can migrate using plugins without developer help. Complex sites with e-commerce, multilingual content, or custom post types benefit from professional migration services to avoid data loss.
What happens to my website design during migration?
Design does not transfer from proprietary platforms to WordPress. You must rebuild the visual layout using a WordPress theme and page builder after the content transfer is complete.
How do I avoid duplicate content penalties during migration?
Set WordPress to discourage search engine indexing under Settings > Reading while your staging site is being tested. Remove that block only after all redirects and testing are complete.