
A service booking form is a web page where customers request or reserve an appointment, giving you their contact details and job specifics instead of calling. If you handle a small, variable schedule, start with a request-only form and confirm manually. If you have set availability and enough volume to justify automation, move to instant booking with live calendar sync.
TL;DR:
- Accurate service durations, staff availability, and buffer times are essential for both request-only and instant booking forms to prevent scheduling conflicts.
- Customizable templates for appointment, field visit, consultation, recurring, group, and rental bookings should include only necessary fields to streamline user experience.
- A clear privacy notice linked to your policy boosts trust and reduces form abandonment, especially when collecting personal details upfront.
- Mobile-friendly design with single-column layouts, inline validation, and conditional fields significantly lowers abandonment rates on phones.
- Proper setup of availability, buffers, and service durations outweigh visual design improvements in avoiding double-bookings and missed appointments.
Table of Contents
- Request-only, instant booking and hybrid workflows
- Booking form templates and examples by purpose
- Essential fields and privacy: what to collect now versus later
- Design for conversion and mobile: UX rules that lower abandonment
- Step-by-step build and launch checklist
- Testing and launch checklist: what to verify before you go live
- Practitioner perspective and common operational pitfalls
- What actually matters when you build a booking form
- Get your booking form built and optimized properly
- Sources
- FAQ
Request-only, instant booking and hybrid workflows
Request-only forms collect a customer’s preferred date, service and contact details, then email or notify staff to confirm manually. They suit businesses with irregular jobs, custom quotes or a small team that reviews every booking before accepting it.
Instant booking shows live availability pulled from a connected calendar, and the customer picks an open slot that locks in immediately. This needs accurate service durations, staff calendars and buffer times set up in advance, because a mistake here means double-booking or promising a slot nobody can actually work.
Hybrid models hold a slot temporarily while a staff member confirms details, which balances speed with quality control.
- Request-only: best for custom quotes, first-time clients or highly variable jobs.
- Instant booking: best for standardized services with fixed durations and predictable staffing.
- Hybrid (hold and confirm): best when you want speed but still need to check access, equipment or scope before locking in.
- All three need duration, buffer and staff-assignment rules set before launch, or the schedule will not hold up.
Booking form templates and examples by purpose
Most service businesses fit one of a few common templates. Start with the closest match, then adjust the fields.
- Appointment booking (salons, clinics, tutors): name, phone, service type, preferred date and time, notes.
- Field visit or on-site service (plumbers, electricians, cleaners): name, phone, service address, urgency or flexibility, access instructions.
- Consultation request (agencies, consultants, coaches): name, email, company, project summary, preferred contact method.
- Recurring service (lawn care, pest control, pool maintenance): name, address, service frequency, start date, gate or access code.
- Multi-attendee booking (classes, group sessions, workshops): name, number of attendees, session date, dietary or accessibility notes.
- Equipment or rental booking (photography gear, party equipment): name, item selected, rental dates, delivery or pickup preference.
Field visit and recurring templates need extra fields for address and access; consultation and appointment templates can stay short and still convert well.
Essential fields and privacy: what to collect now versus later
Ask only for what you need to confirm the booking. Everything else, including full intake details, can wait until after the slot is secured.
- Collect at booking: name, phone or email, service selected, preferred date and time.
- Defer until after booking: detailed project scope, billing address, referral source, marketing preferences.
- Limit free-text fields where possible, since open text boxes invite people to share more personal information than the task requires.
- Add a short line near the submit button explaining what you collect and why.
The Office of the Australian Information Commissioner (OAIC) advises businesses to be transparent about what personal information they collect, why it is needed, and how it will be used, and to link to a privacy policy at the point of collection. That same guidance ties this openness to trust: people are more willing to submit a form when they understand upfront why their name, phone number or address is being requested rather than finding out later.
A short privacy notice near the submit button, linked to your full policy, is a low-effort way to meet OAIC expectations and reduce hesitation at the exact moment someone decides whether to finish the form.
Design for conversion and mobile: UX rules that lower abandonment
Most bookings now happen on a phone, so the form has to work there first. A single-column layout, large tap targets and native date and time pickers remove the friction that causes people to give up halfway through. Our guidance on mobile-friendly interfaces covers the testing steps that catch these issues before launch.
- Use a single column with one question per screen section, not a dense grid of fields.
- Show conditional fields only when relevant, such as an address field that appears after the customer selects a field visit.
- Validate inline as the customer types, with plain error text instead of a generic “invalid input” message.
- Send an immediate confirmation and a reminder closer to the appointment to cut no-shows.
Pro Tip: Test your form on an actual phone in direct sunlight before launch. Screens that look fine on a monitor often hide low-contrast text and tiny buttons outdoors.
Our tag on responsive web design has more on layout patterns that hold up across screen sizes.
Step-by-step build and launch checklist
Building a booking form works best in a fixed order. Skipping steps, especially around availability and buffers, is where most small business booking flows break.
- List every service with its duration so the calendar knows how long to block for each job.
- Assign staff or resources to each service, including who can perform it and where.
- Choose request-only or instant booking based on how predictable your schedule is.
- Set buffers, minimum notice and cancellation rules, such as a 30-minute gap between jobs or a 24-hour cancellation window.
- Connect a calendar and notification system so bookings sync automatically and both you and the customer get confirmations.
- Add payment processing if you take deposits or full payment upfront, and confirm the payment gateway is secure before going live.
- Embed the form on your website on the page where customers expect to book, not buried in a menu.
- Test every service, device and time zone, including a full reschedule and cancellation path.
ServiceM8 documents this sequence in its scheduling setup, recommending that businesses define services, pricing and scheduling policies before publishing an online booking form. Its own help center guide to online booking forms separates request-based forms, which route details to a person for manual confirmation, from instant-booking workflows that check live availability and confirm a slot automatically.
Testing and launch checklist: what to verify before you go live
Run through real bookings on desktop and mobile, including at least one reschedule and one cancellation, before opening the form to customers.
- Test overlapping booking attempts to confirm the system rejects or queues them correctly.
- Check daylight saving transitions and time zone handling if you serve customers across regions.
- Confirm reminder and confirmation emails arrive and display correctly on mobile.
- Track completion rate, time to complete and no-show rate in the first week to catch problems early.
Practitioner perspective and common operational pitfalls
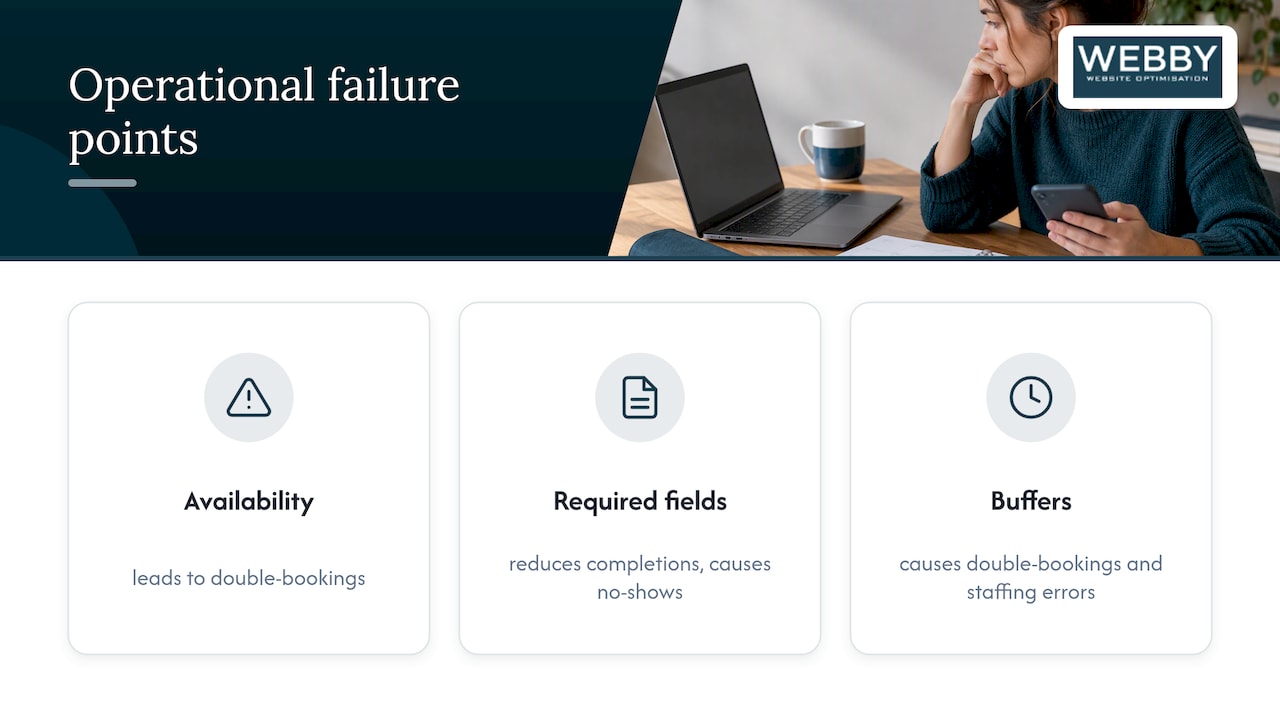
The most common failure points we see are misconfigured availability, too many required fields, and missing buffers between jobs. Each one looks small in isolation, but together they turn a working calendar into a source of double-bookings and no-shows. Launch with the shortest form that still lets you confirm a job, then add fields only if you find yourself chasing missing details afterward. Fixing buffers and trimming required fields tends to move completion and staffing accuracy faster than any redesign of the form’s look.
What actually matters when you build a booking form
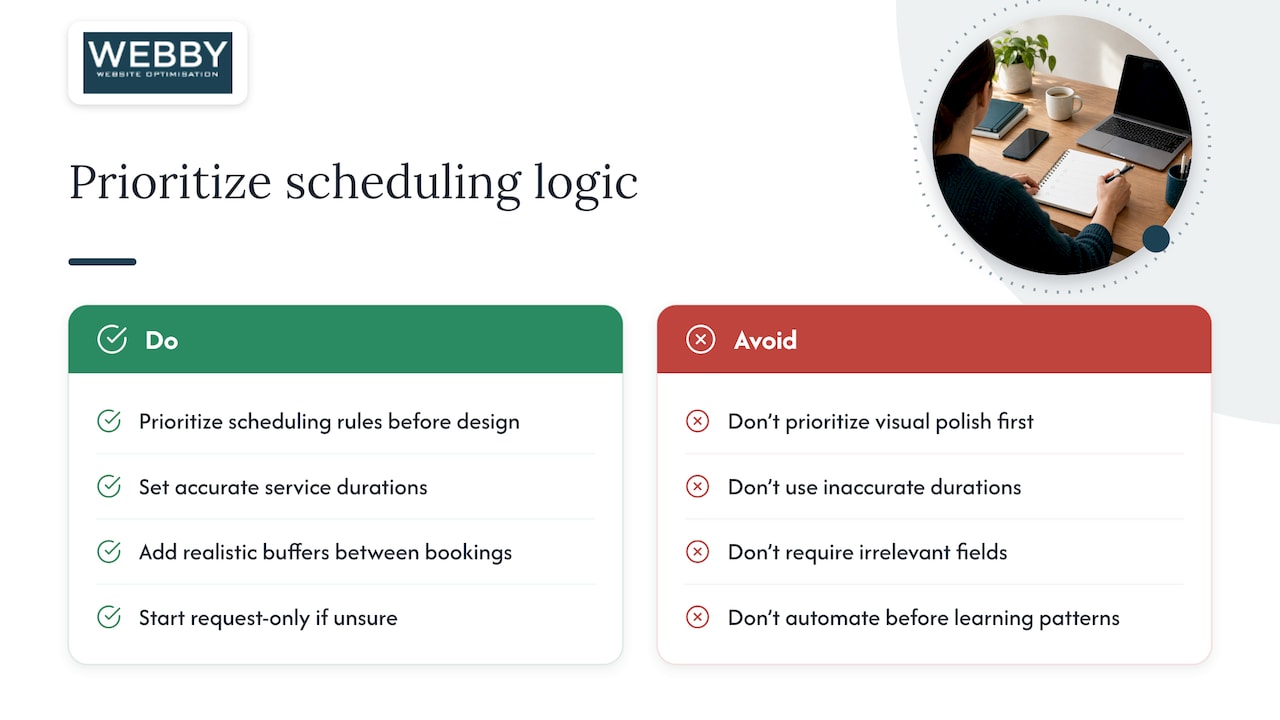
Most advice on booking forms focuses on design polish, better colors, smoother animations, a friendlier tone. That’s not where forms fail. They fail on scheduling logic: durations that don’t match reality, buffers nobody set, or a required field that has nothing to do with confirming the appointment.
If you’re a small service business shipping your first booking flow, prioritize getting the scheduling rules right before you touch the visual design. A plain form with correct buffers and accurate durations will outperform a beautifully designed one that double-books your technician. Start request-only if you’re unsure, since a human catching a scheduling conflict before it happens is more forgiving than a customer showing up to a slot that never should have existed. Add automation once you understand your own booking patterns, not before.
— Steve Doig
Get your booking form built and optimized properly
A booking form that looks fine but leaks bookings at the mobile screen or buries the confirmation button costs you jobs every week it stays live. Booking flows can be built and integrated as part of website development projects, with a focus on optimizing the mobile experience to improve form completion rates and testing the conversion path before going live.
- Get a website audit to see exactly where your current booking form loses people.
- Have a working booking system live fast with Website Built in a Day.
- Rebuild the whole site around conversion, including booking and calendar integration, through website design and development.
If you’re weighing outsourcing the whole workflow, agencies like 121 Group also write on separating initial booking from deeper project intake, which lines up with the short-form approach above. Start with a website audit if you want a clear list of what to fix first.
Sources
Check the OAIC for personal information handling guidance, and ServiceM8’s support documentation for booking-form workflow setup.
- How to create Online Booking Forms & Services — ServiceM8
- Office of the Australian Information Commissioner (OAIC)
- ServiceM8 — scheduling product documentation and guidance
FAQ
How do I create a booking form?
Start by listing your services and their durations, then choose between a request-only form or instant booking with live availability. Add only the fields needed to confirm the appointment, connect a calendar and notification system, and test every device and booking path before publishing.
Can you provide an example of a booking form?
A simple appointment template asks for name, phone number, service type, and preferred date and time, which covers most salons, clinics and tutoring businesses. A field visit template adds a service address and access instructions for plumbers, electricians or cleaners who need to know the job site before arriving.
How do I set up a booking service for my business?
Define your services and staff assignments first, then decide whether to confirm bookings manually or automatically through live calendar sync. From there, set buffers and cancellation rules, connect notifications, and run a full test of the booking, reschedule and cancellation paths before launch.
What are booking forms?
A booking form is a web page that lets customers request or reserve an appointment by submitting their contact details and service preferences. It can either send the request to staff for manual confirmation or check live availability and confirm the slot immediately, depending on how the business sets it up.